
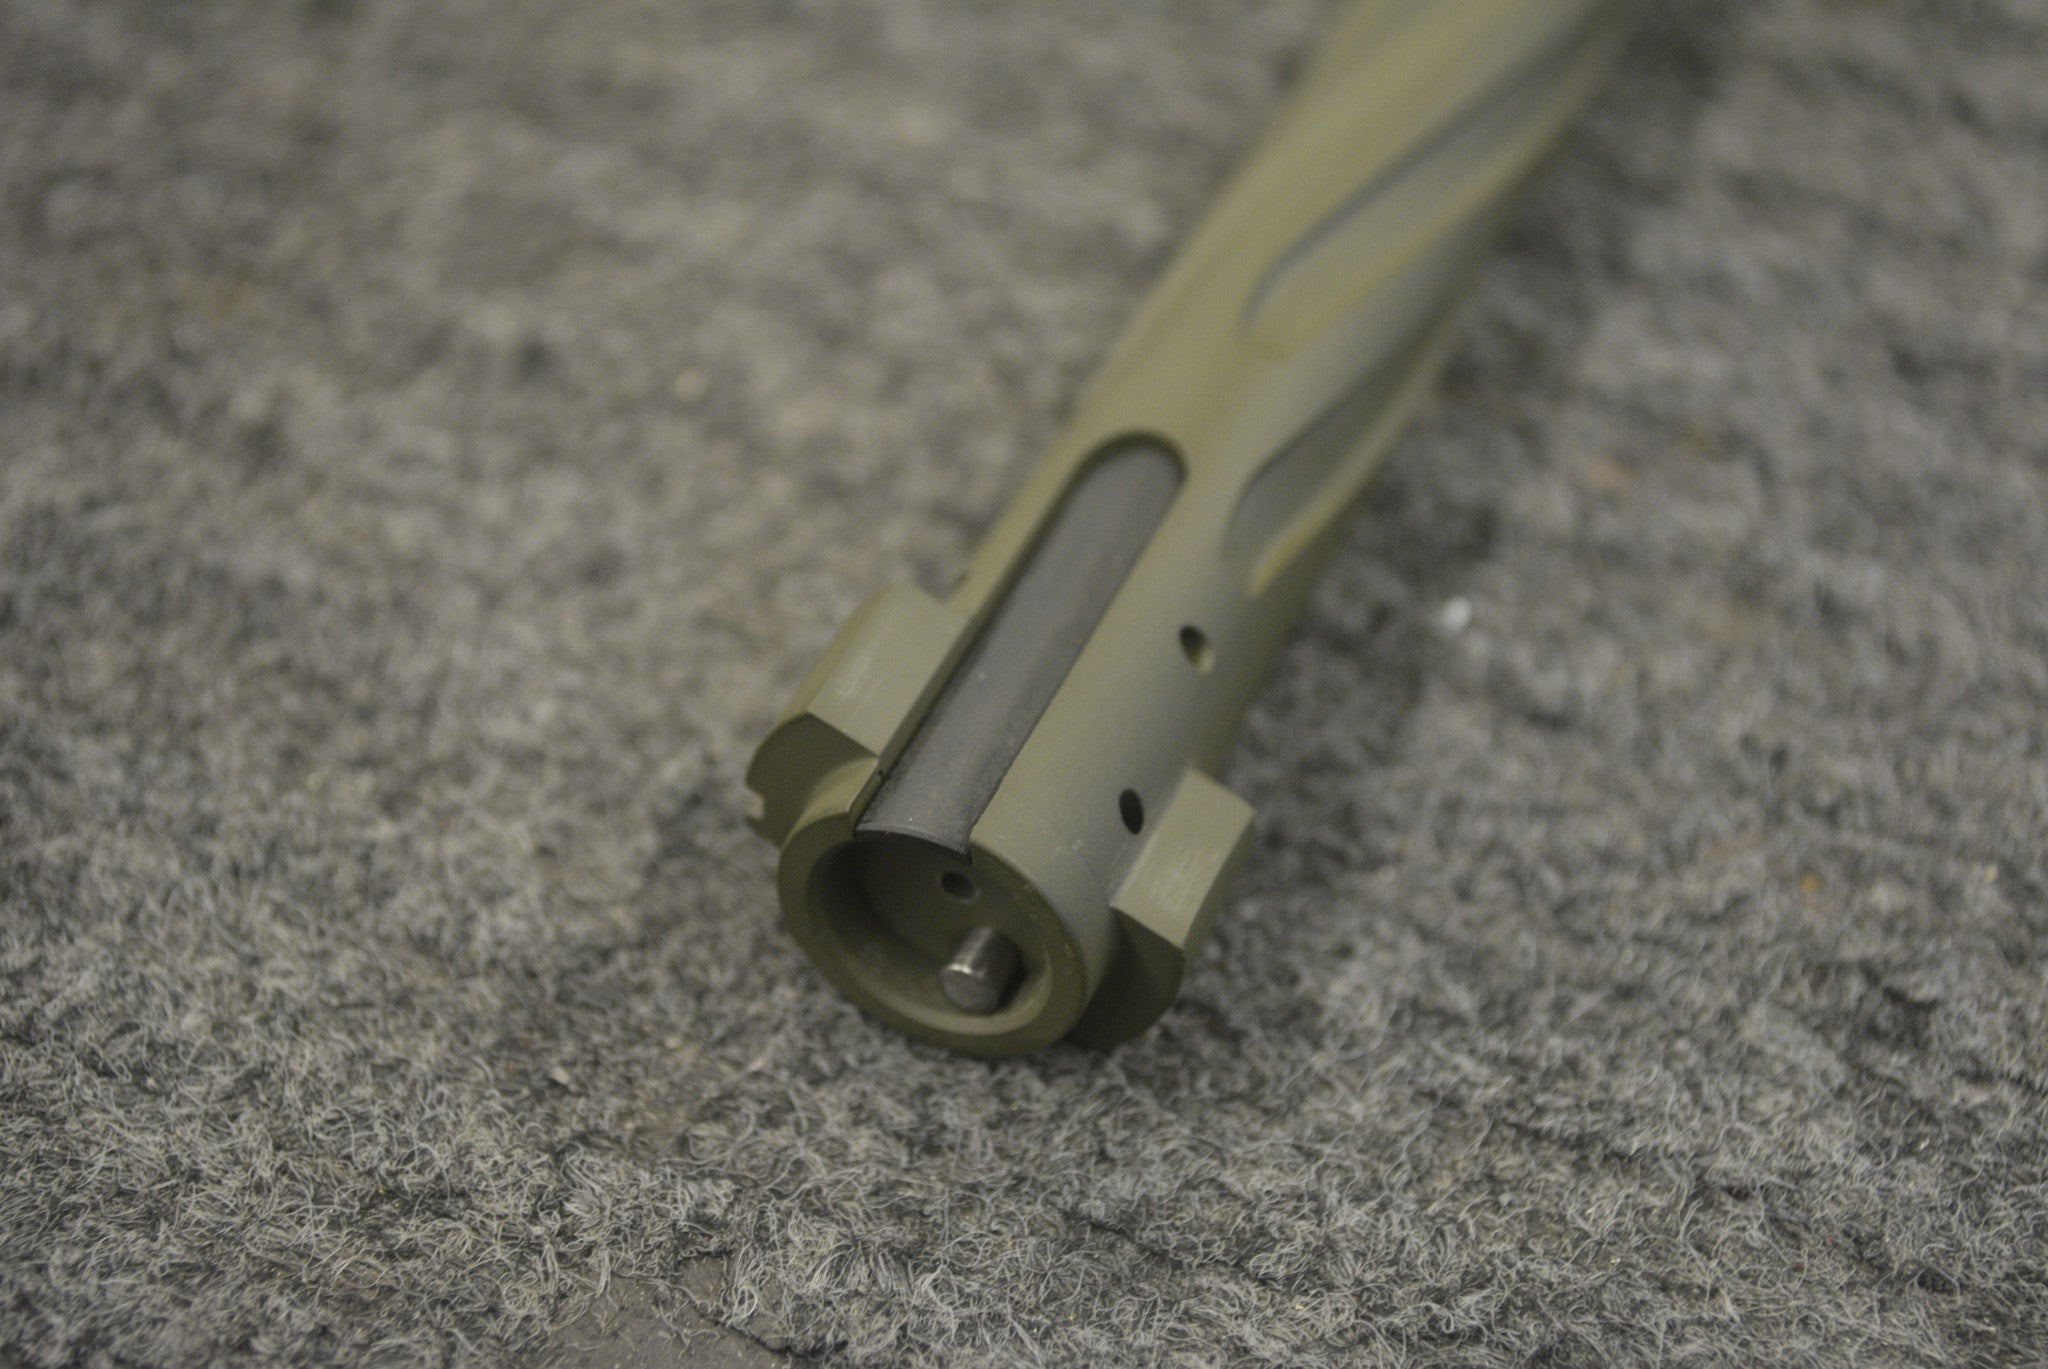
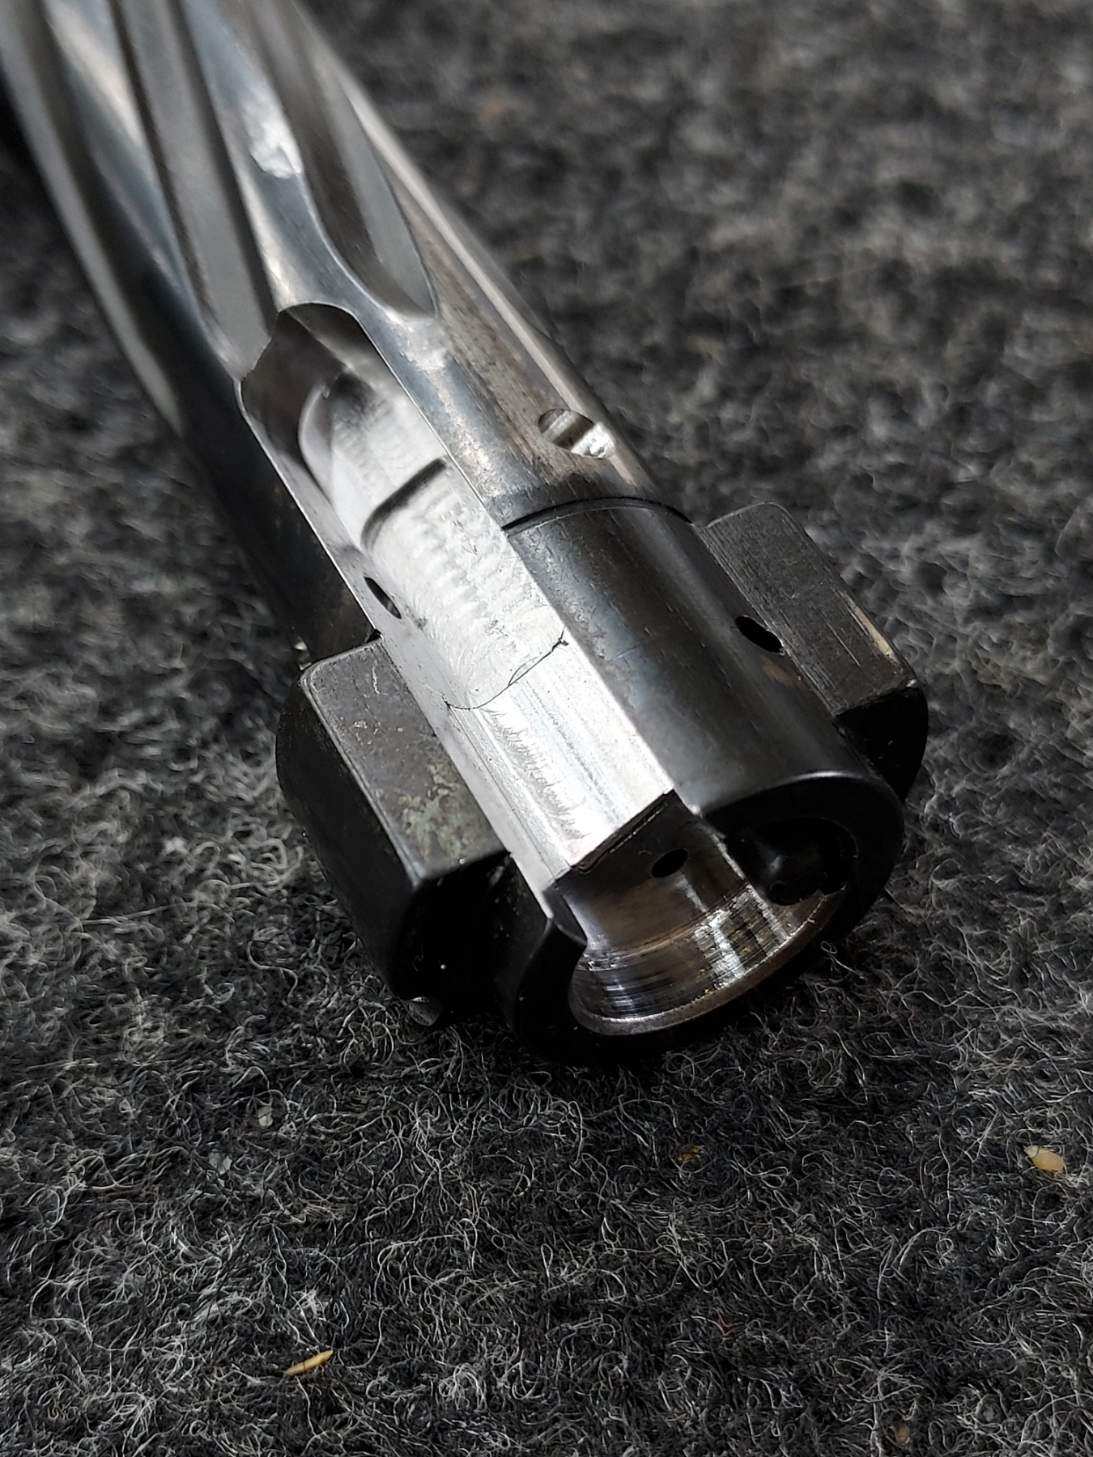
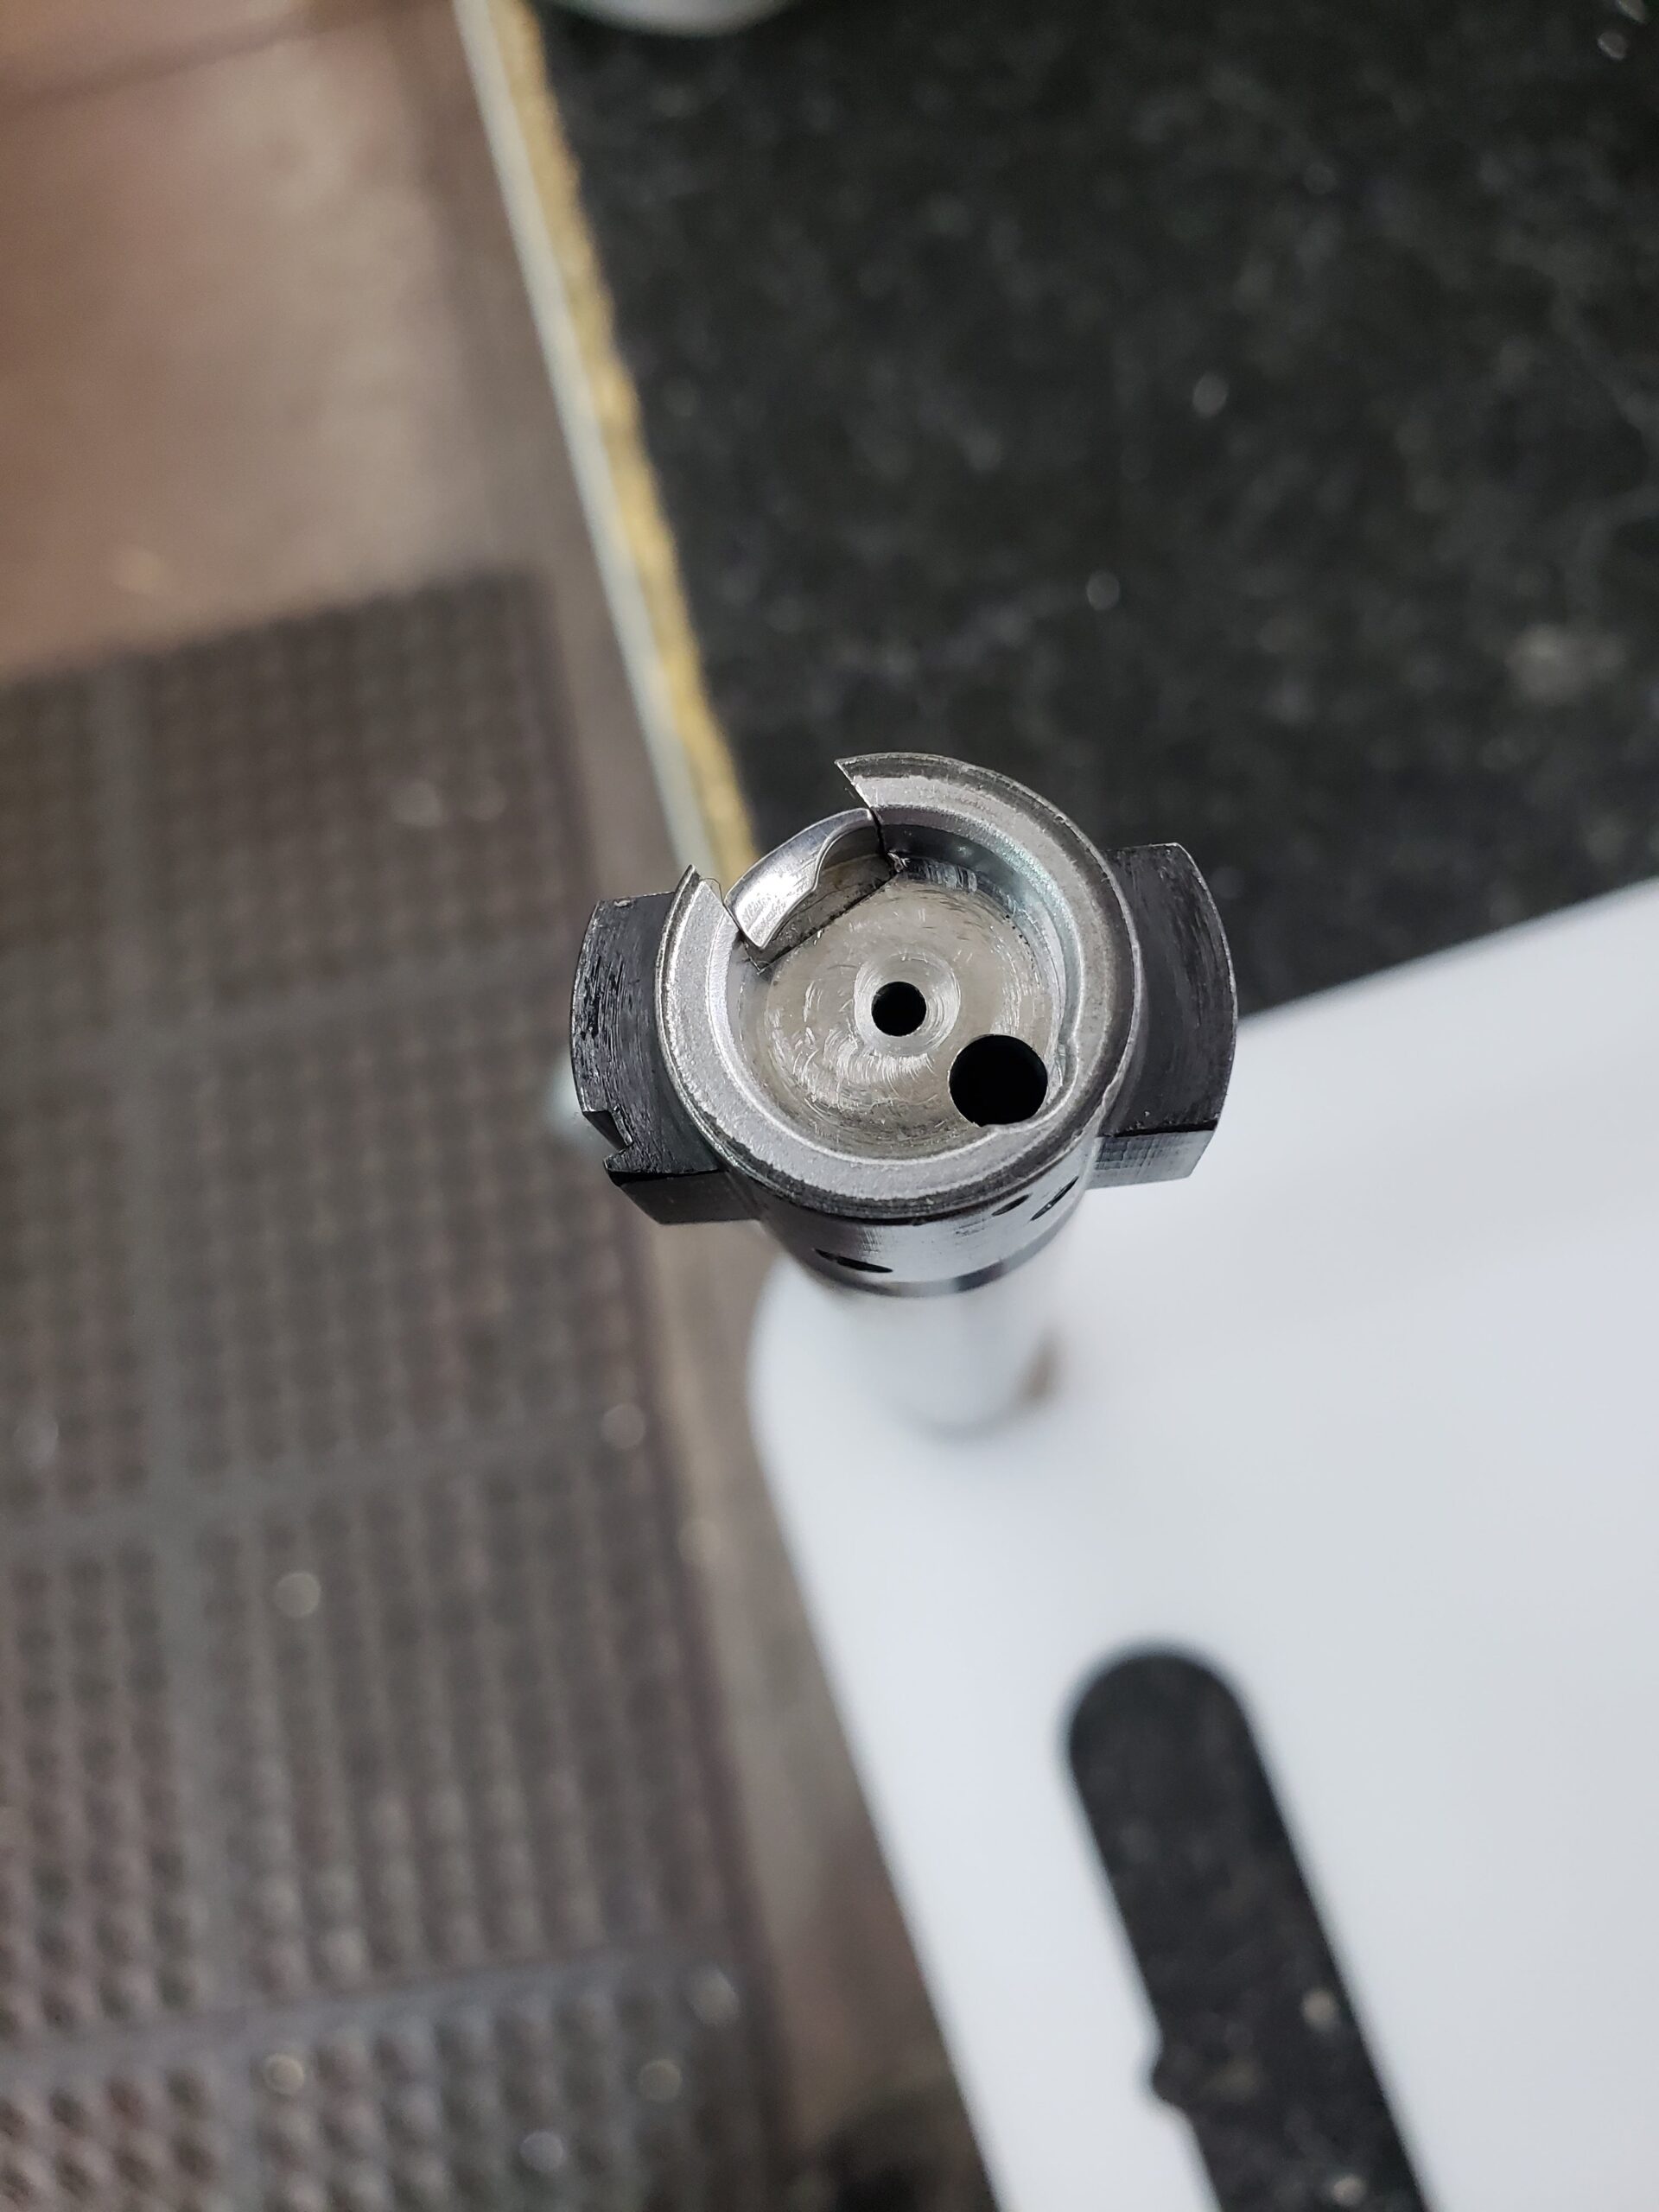
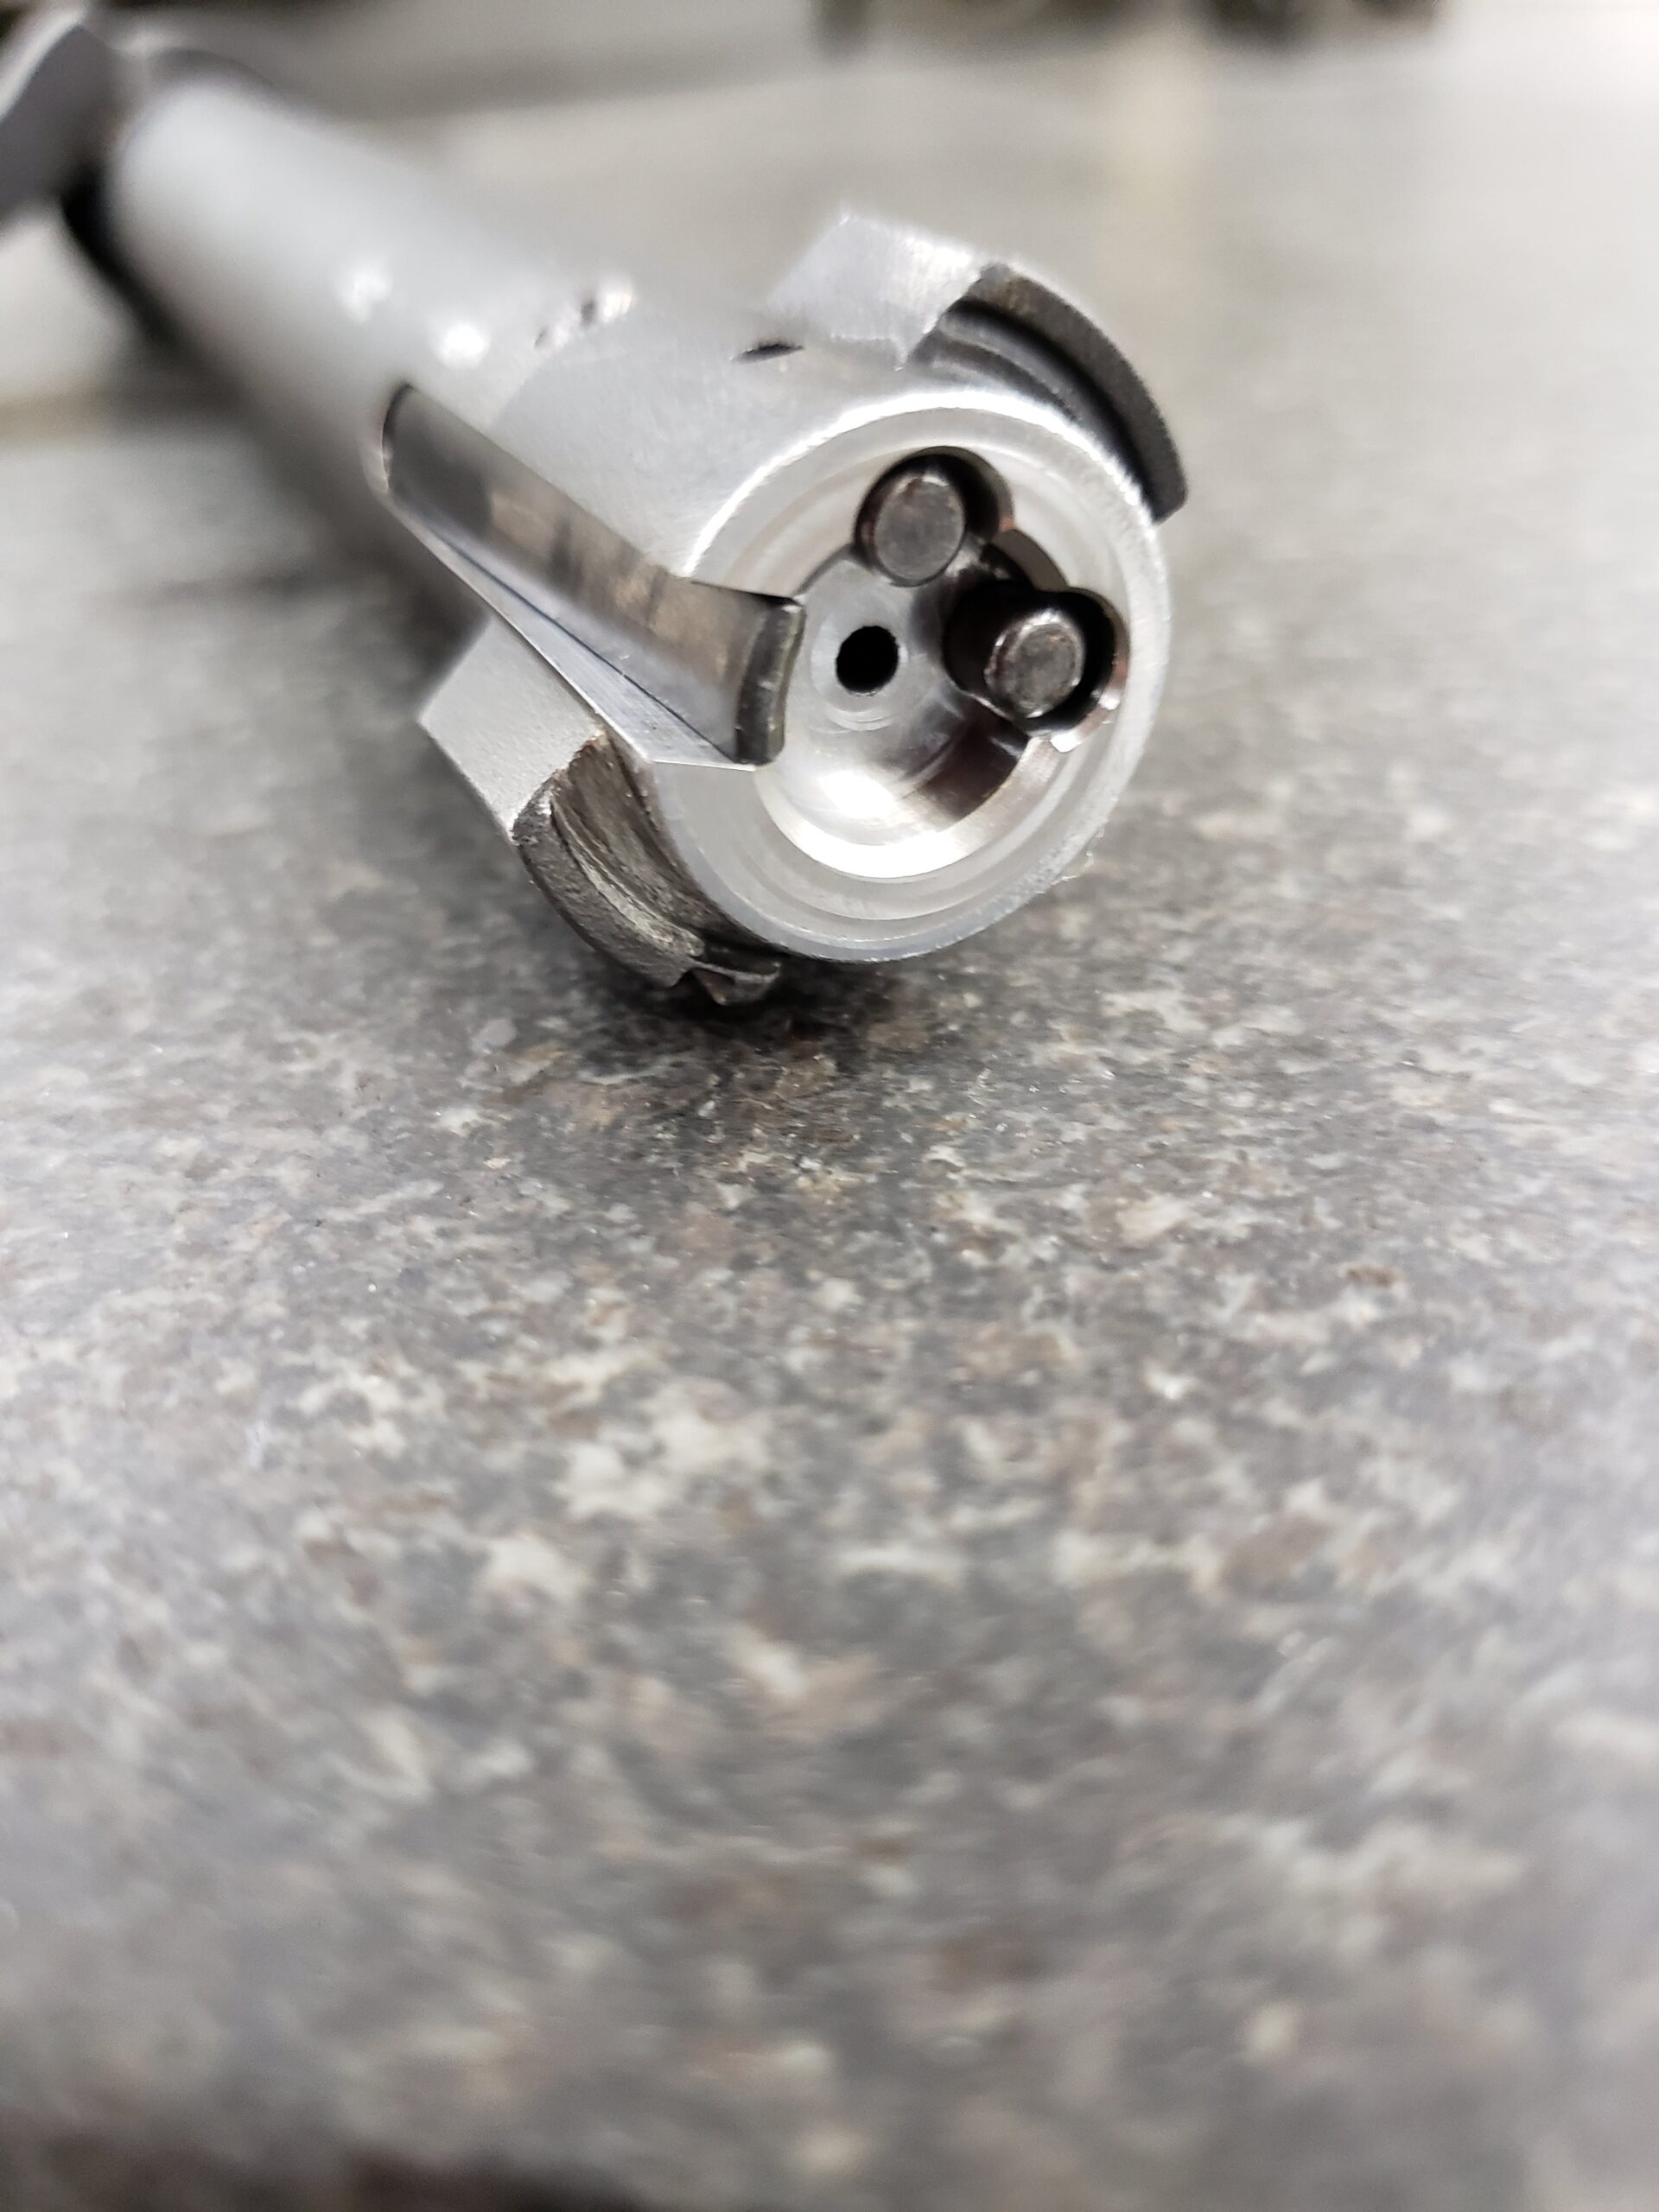
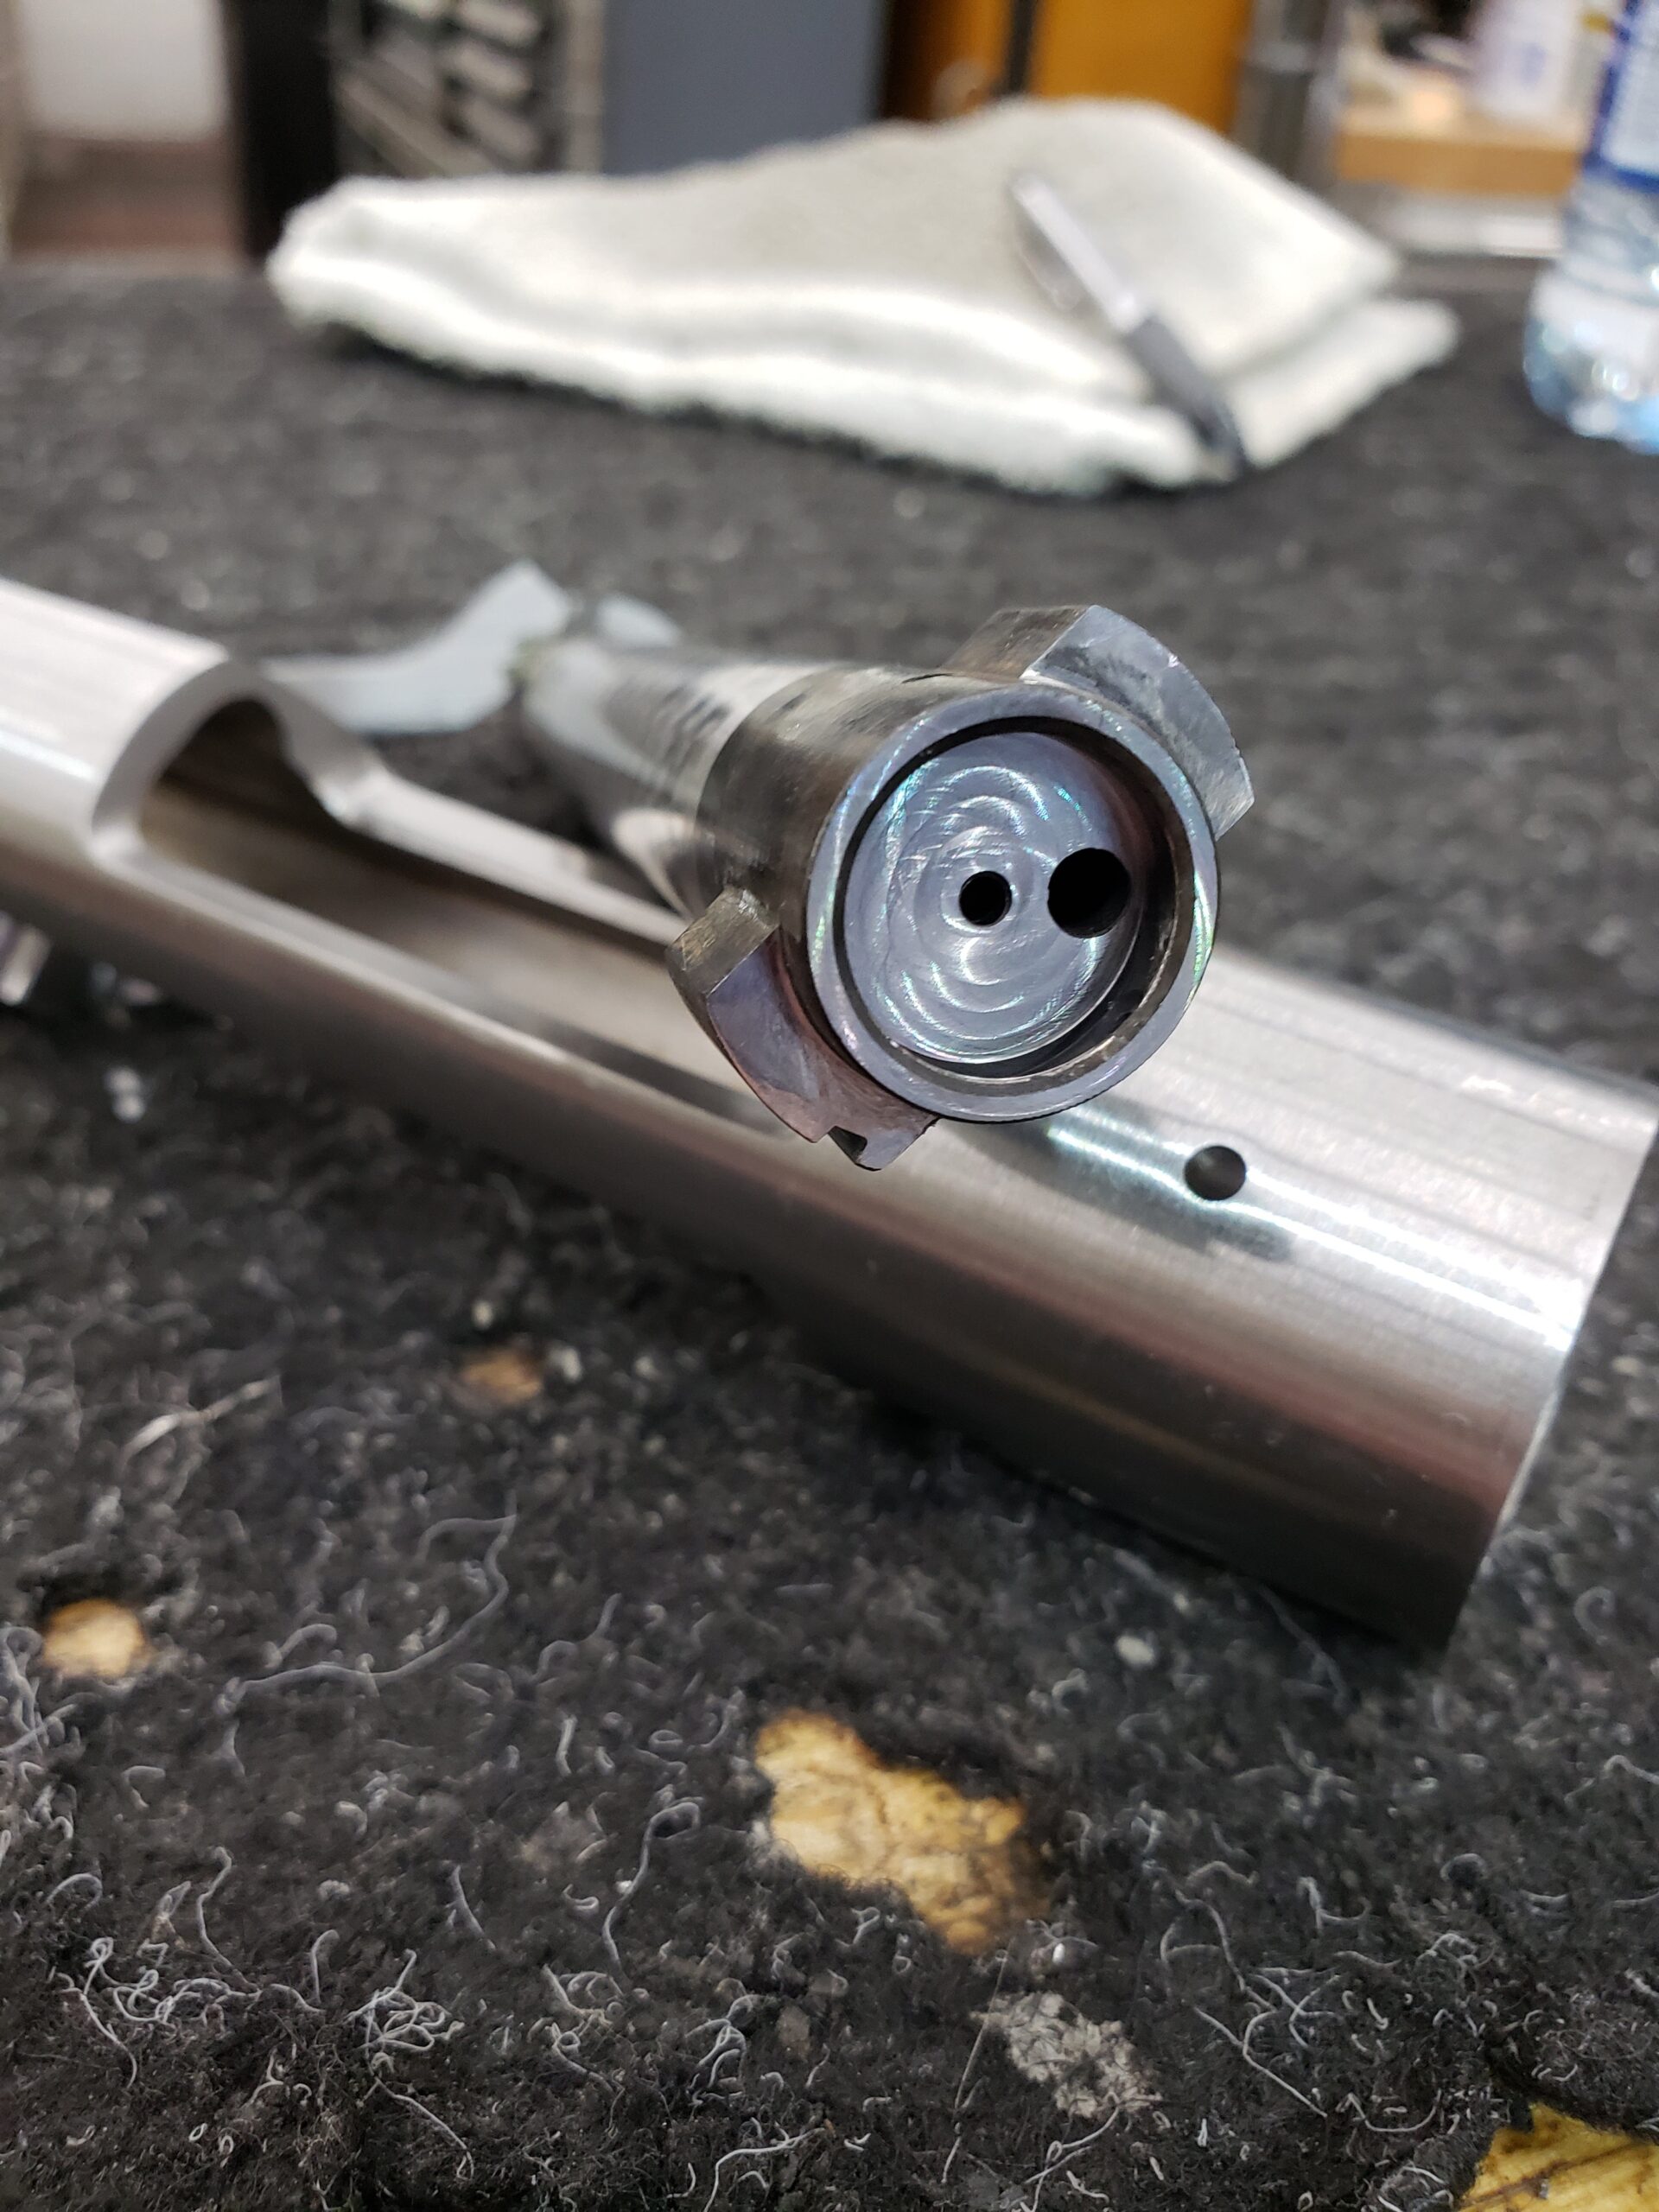
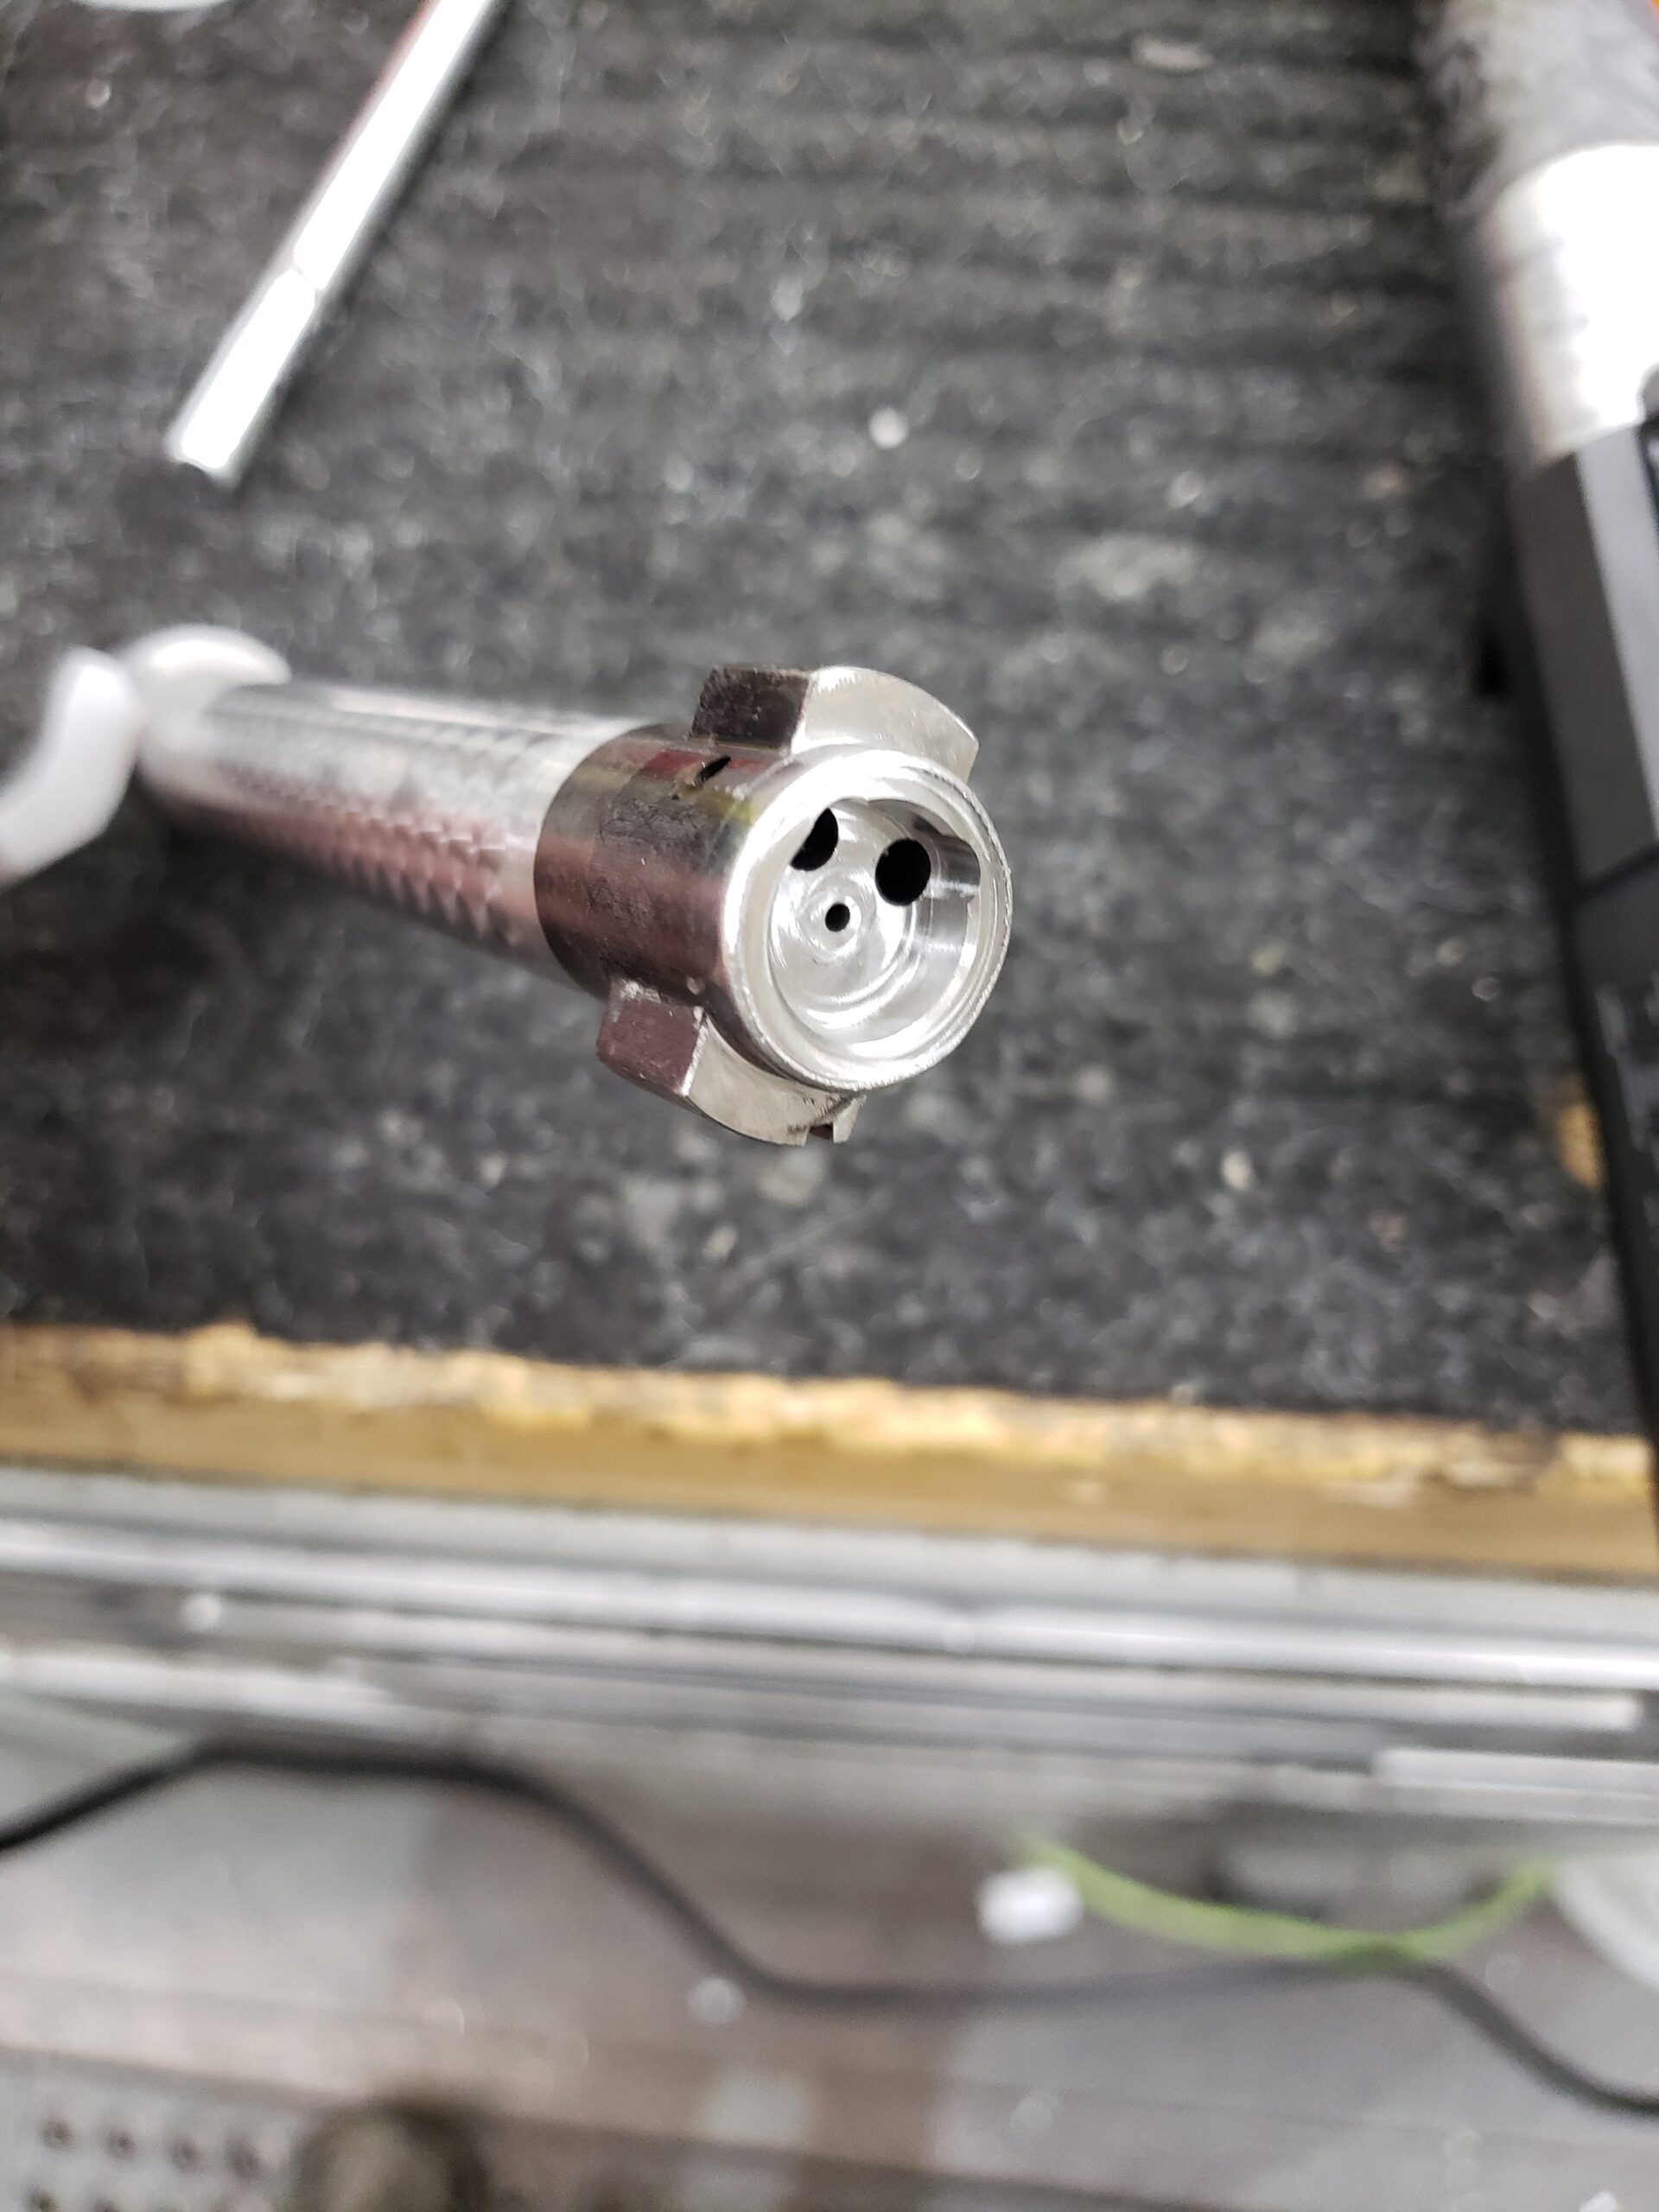
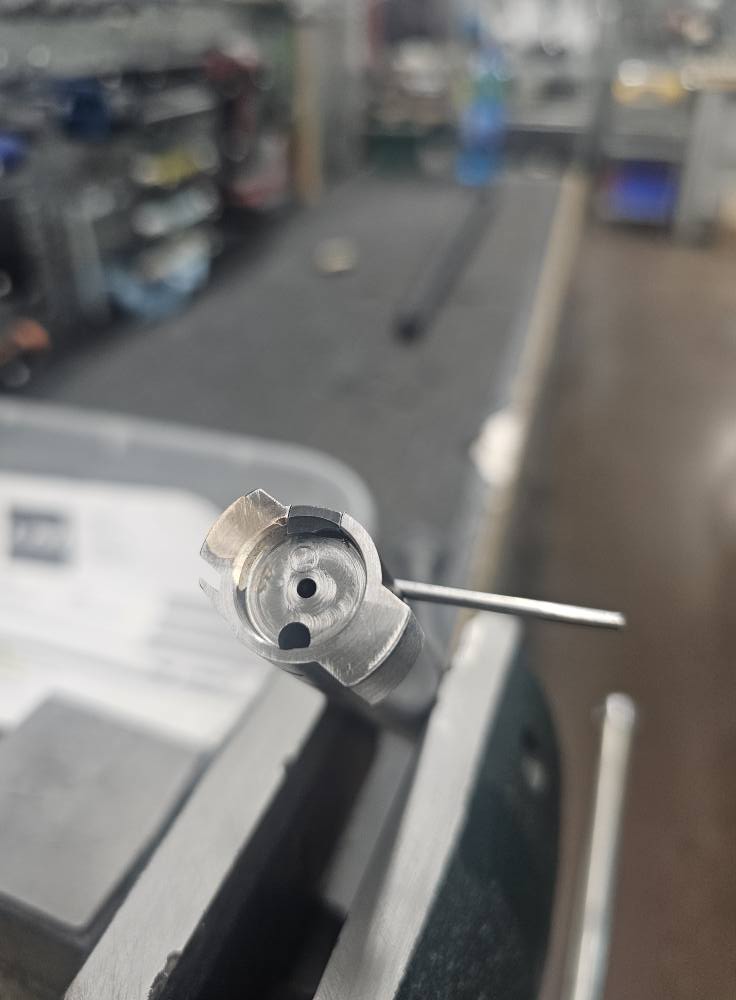
GUNSMITHING SERVICES: Remington M16 extractor conversion with single or dual ejectors
From $190.00
Description
The M16 extractor for the M700 bolt is one of our most popular upgrades. When working with magnum bolt face cartridges, an M16 extractor is an almost “must-have” as the riveted factory piece is a known failure point.
Our M16 Extractor services are also available for the following actions. Links are below:
- Bergara B14
- Winchester M70 Push Feed (Post 64) with a plunger ejector
LRI installation process:
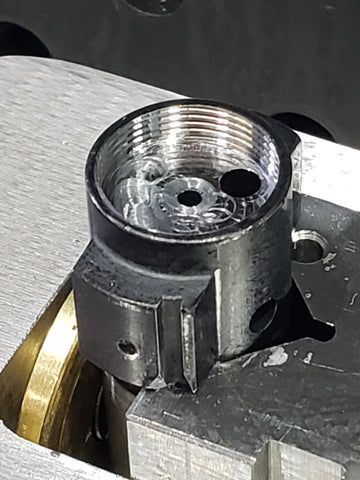
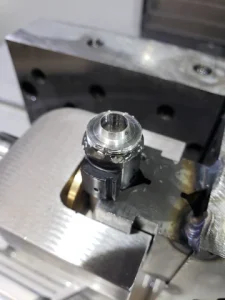
The first step is to install a bushing onto the bolt nose. This creates a smooth inner wall that allows a cartridge to enter and leave the bolt nose without obstruction. Our bushings are unique. They are threaded directly into the nose of the bolt face for a true mechanical connection. We advise against the failure-prone epoxy method that many others rely upon. While threads do an exceptional job of capturing the bushing, we go one step further to make sure it can never rotate out of clock position. A low-temperature solder is applied to “sweat” the two together and form a permanent bond tolerant to shock, heat, and chemical exposure. Some might find this disturbing as heating a part like this generally not a good idea. We agree 100%.
LRI’s process uses Magnetic induction to warm the bolt nose and bushing. This avoids the collateral risk of overheating the bolt head and potentially altering tensile strength. It takes around 30 seconds to warm the parts sufficiently to get the solder flowing. Next, parts are allowed to cool Using air. Blasting a freshly soldered assembly with the coolant used in a milling center is certain to create a failure. “Cold joints” are created this way where the solder loses its adhesion due to rapid temperature change. We created a cooling cycle using a “chip fan”. Chip fans are a tool used at the end of a program to remove the piles of swarf created when machining. They load in the spindle like any other tool and move a tremendous amount of air. We park one of these fans above the part as it rotates on the table; cooling the part gradually while also preserving the freshly soldered joint.
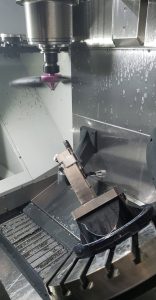
With the bushing installed, finish work can begin. The ID of the bolt nose is sized to whatever is appropriate for the application. This can be for an existing rifle or during an overhaul involving a completely new cartridge. Changing the original factory bolt face diameter is no problem. A common conversion here is to convert a .223 Remington bolt (.390″ bolt face) to a magnum diameter (.550″). It’s also just as easy to go the opposite direction and convert a magnum bolt into something smaller. During this, critical features are resurfaced to ensure perpendicularity to the body axis. All of the corners are detail machined to prevent case rim abuse from sharp edges.
NOTE:
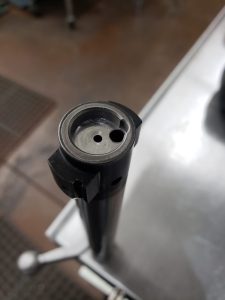
As a standard practice, the face of the bolt is resurfaced when installing the extractor. This removes any residual solder from the bushing installation. Your headspace will change between .0005″ and .001″. For reloaders, all that is required is maybe a small adjustment of your sizer die. For shooters using factory ammunition, there is no change required. This may be concerning to some. We ask you to trust our process and judgement. Literally thousands (!!) of bolts have been processed using this exact process here. If there was going to be an issue, we would have seen it by now.
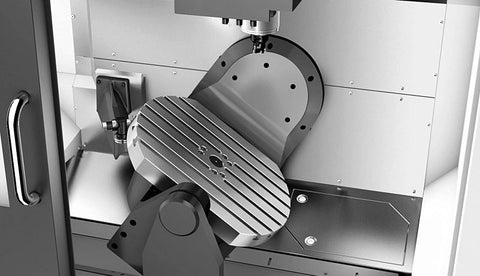
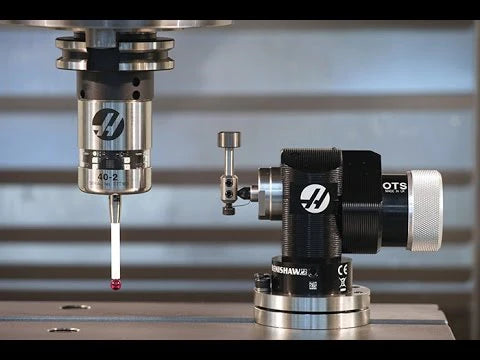
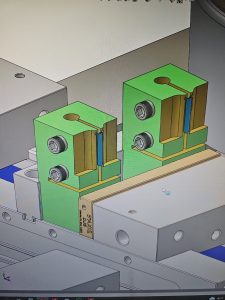
With the bolt nose work complete we can create the extractor pocket. All of the previous setup work is cascading thanks to wireless probing and carefully written setup routines. To our knowledge, LRI is the only gunsmithing company today with 5-axis CNC milling assets used for the purposes of gunsmithing. When combined with wireless electronic probing, the entire job can be done start to finish in a single setup.
NOTE:
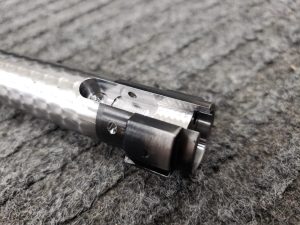
It’s important to understand the relationship between an OEM extractor and ejector pin. Factory M700-style extractors are located at the 3 o’clock position (RH gun). The ejector plunger lives at 7 o’clock. The plunger pushes the rim of the case upward, but with the pivot point at 3 o’clock, the case exits in a nearly horizontal path.
An M16 extractor changes this. They can only be installed at the 1 o’clock position (RH gun), exactly 180* from the ejector pin. The extracted cartridge now attempts to leave the port almost vertically. When optics and bases clutter this path, the ejected case almost always gives up and lands right back into the ejection port. Many have attempted to resolve this by altering the extractor pawl geometry in hopes of restoring the horizontal exit path. This rarely works. The correct solution is to change the direction the force comes from.
Ejector #2 has entered the chat. . .
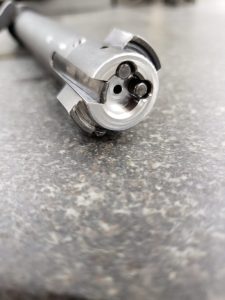
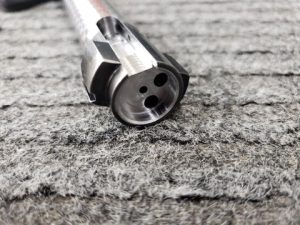
Adding a 2nd ejector has proven to be the most viable means of restoring reliable function. The additional pressure point redirects the cartridge exit path to emulate the OEM behavior. The added resistance shooters feel from a second spring when closing the bolt is a problem we solved by shortening one of the ejector springs. This preserves the correct feel, so you don’t have to retrain your muscle memory.
But. . .
We’ve also learned this is not a universal fix. (Guns are rarely absolute) Cartridges such as the BR, PPC, Grendel, and other “short, stubby” cases do not always play by the rules. This is due to the additional spring pressure and shorter case body. The mouth of the case “flips” towards the direction of the ejection port the moment it clears the breech ring of the barrel. Because the case body is so short, the angle surpasses what the extractor is able to hang onto. The radical change knocks the case rim out from under the extractor pawl as the case mouth contacts the receiver raceway. This causes a loss of retention and the cartridge lands in the loading port, resulting in an ejection malfunction. Here a single ejector still works better as the shorter cases have enough freedom to clear the ejection port.
We recommend a single ejector setup when running short, stubby length cartridges. Below is a partial list of exceptions.
- BR (Bench Rest)
- PPC
- ARC
- Grendel
- Any Fireball variant
- 300 AAC Blackout
- Valkyrie
Winchester Post 64 Push Feeds and Bergara B14s:
Winchester’s departure from the Mauser style, fixed extractor has had its share of problems. The T-slot design is prone to failure when cartridges become reluctant to come out of the chamber. The Bergara B14 has also had its share of this. We have solutions for these as well.
Winchester:
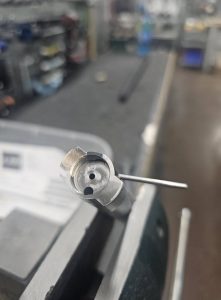
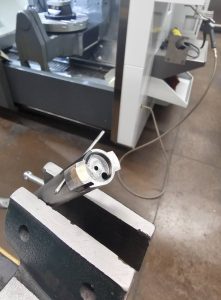
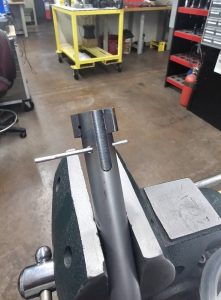
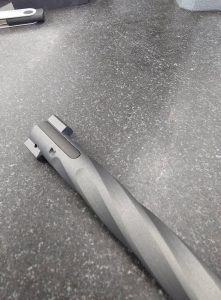
PF M70s present some unique problems to solve. First is making the OEM ejector slot go away. Welding a heat-treated part that endures tens of thousands of pounds of force as daily routine is not a trivial thing. We use silicon bronze brazing rod as it can be applied with a Tig Torch at a much lower temperature. The applied surfaces only need to be warmed up. The filler rod is where the business end of a TIG torch is really used. Additionally, use of heat absorbing paste to the lugs is also used to preserve the tensile strength of the bolt head. Silicon bronze fills the void once occupied by the original extractor to ensure reliable function. From here, conversion to the M16 style extractor is straightforward.
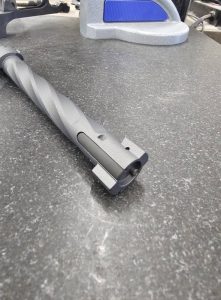
Bergara B14:
Bergara bolts also respond well to this process. We’ve seen no issues leaving the OEM extractor slot unaltered, so we omit the soldering/brazing work.
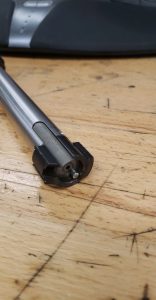
M16 Extractors:
Many companies manufacture M16 type extractors for bolt action rifles. Within this community exists small, yet important differences. The larger issue we faced was availability. It helps no one if your project sits on a shelf for weeks because a 40-dollar part is out of stock.
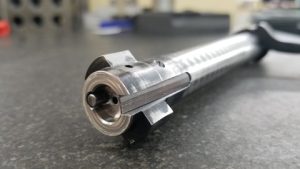
Our extractors are 100% machined from tool-grade steel in-house. We do not use the sintered metal process. The existing extractor design is quite good, so we didn’t try to reinvent the wheel. That said, some small changes were made. Ours have a .005″ corner radius to mitigate abuse to the case rim and the pawl is made with an included angle that “bites” the case rim groove for better retention. They are available in both R and L hand. We offer two sizes. The .187″ wide “mini” and our standard 6mm size.
We also offer these as a product available to purchase directly for shops who prefer to do their own work and for those wanting the peace of mind of having a spare.
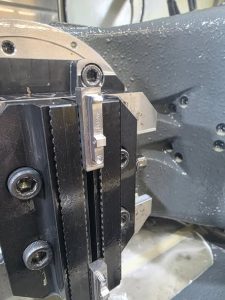
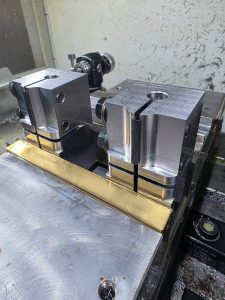
Our 6mm extractors are compatible with both .480 and .545 bolt face cartridges (.308 and Standard Magnum). The .187″ wide “mini” extractor is for smaller diameter bolt faces.
M16 CONVERSIONS TO A .590″ BOLT FACE DIAMETER:
LRI will not convert any .700″ diameter bolt to a .590″ bolt face. Yes, we are aware that Remington once offered it. History also showed that to be a mistake. The use of 300+ grain projectiles combined with 60,000+ psi chamber pressures are outside the zone of what the actions are designed for.
People much more educated than we are did the homework. The data does not lie.
UPDATE: 6.1.2023
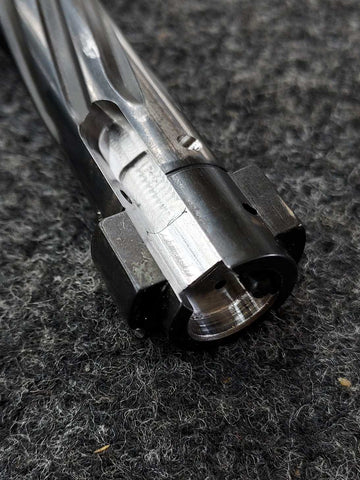
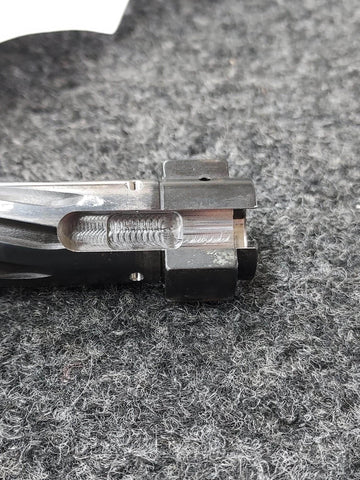
We now offer an M16 extractor retrofit for Remington M700-type bolts previously fitted with SAKO extractors! This is an LRI industry-exclusive service!
NOTE:
Over the years, there have been instances of extractor claw failures. Efforts to mitigate the problem by altering the heat treatment (hardness level) were met with intermittent success.
In 2021, we decided to revise the design by adding more material around the claw area of the extractor. Doing so resolved the failure point. A consequence of this is there’s now a little extra work when retrofitting a Remington rifle chambered in a magnum cartridge. Larger magnum cartridges force the extractor to pivot further away from center to purchase the case rim. Because Remington-style barrel tenons use a counterbored breech face, the outer portion of the extractor is limited by the .725″ diameter breech ring. Magnum extractor installs require the diameter increased to .750.” There are no detriments to safety or performance from doing this. The only consequence is a little extra work.
Determining if your rifle will need this is a simple “Pass or Fail” exercise. If the bolt refuses to close on a loaded chamber after the installation of a magnum extractor, then the breech ring ID interference is the problem. Solving this will require the barrel to be removed from the action and the inner ring to be opened up with a lathe operation. It’s a very simple process that were happy to perform. We encourage clients to send us their entire rifle when retrofitting a bolt with an M16 extractor as we have all of resources needed to ensure it leaves here working.
LRI balances this small inconvenience against the increased reliability. Any shop offering this kind of work is likely to be experienced with this detail as it’s a well-known occurrence within the gunsmithing community.
Related products
-
GUNSMITHING SERVICES: Tactical bolt knob installation
From $65.00 Configure -
GUNSMITHING SERVICES: Receiver blueprinting
Price range: $250.00 through $400.00 Select options This product has multiple variants. The options may be chosen on the product page -
GUNSMITHING SERVICES: Glass bead finishing.
Price range: $15.00 through $250.00 Select options This product has multiple variants. The options may be chosen on the product page -
GUNSMITHING SERVICES: Clip slotting M700 for M40 style optic base
$265.00 Select options This product has multiple variants. The options may be chosen on the product page